10 Save the Date Photo Ideas That Look Sharp in Print at 300 DPI

Use a high-resolution engagement portrait with clear faces and negative space, and export the original file at 300 DPI for print. Portrait-style images from an engagement session leave room for your names and date. Skip anything pulled from social media or a text thread, because those copies are compressed. Before you order, confirm the pixel dimensions meet your printer’s minimum.
TL;DR:
At 300 DPI, a 4 by 6 inch card needs at least 1,200 by 1,800 pixels; use the photographer’s original file, not a compressed copy.
Ask for horizontal and vertical portraits with clear space for text, plus candid, posed, and detail frames, so one session supports different card layouts.
Mail 6 to 9 months before local weddings and 9 to 12 months before destination weddings; include names, date, location, and an invitation to follow.
Check with the property owner or managing office before shooting at a venue or public site, since permits, fees, hours, and prop restrictions vary.
Table of Contents
8. How do you personalize photos with venue or theme elements?
9. Should your save the date be digital, animated, or video?
11. How do you coordinate save the date photos with your engagement session?
12. What do we think matters most about save the date photos?
13. Want print-ready save the date photos from a professional?
1. Which save the date photo ideas work best?
These concepts photograph well and print clearly at card size. Pick one or two that feel like you, then ask for horizontal and vertical versions of each.
Meaningful location: shoot where you met, got engaged, or will marry.
Golden-hour candid: walking or laughing with movement, and open sky for text.
Cozy at home: couch, kitchen, or porch portraits that feel intimate.
Black and white: an editorial portrait that looks timeless on any wedding palette.
Seasonal: fall foliage, cherry blossoms, or a snowy scene that hints at your date.
Beach or waterfront: a wide, airy frame with plenty of room for type.
Ring-forward close-up: hands, a detail shot, or the ring catching light.
Two- or three-photo grid: a short story told in a collage layout.
Pets or a prop: a dog, a picnic blanket, or a bouquet, kept simple to avoid clutter.
City skyline or rooftop: a natural fit for an urban wedding.
Stationery experts note that candid, natural-light shots and focused portraits often print more clearly at small sizes than busy, heavily composed images. Single-photo designs remain the most common, though collage layouts of two or three photos are gaining ground.
If you want more styled inspiration, our guide to creative engagement photo ideas goes deeper.
2. How do you prepare a print-ready photo file?
Print quality is decided before the design stage. A great pose still looks soft if the file is small or compressed. Work through these steps in order:
Start with the original full-resolution file from your photographer, never a copy downloaded from social media or a messaging app.
Set the image to 300 DPI at the final print size.
Check the pixel count against the card size. A 4x6 card needs at least 1,200 x 1,800 pixels.
Add a 0.125-inch bleed on all sides so trimming leaves no thin white edge.
Keep names, dates, and any other text at least 0.125 inches inside the finished dimensions.
Save as a high-quality JPEG or PNG, not a screenshot.
Ask your designer or print vendor for a proof or preflight check before the full order.
Professional prints require 300 DPI at the final printed size, which means roughly 1,200 x 1,800 pixels for a 4x6 card. Photos from social media are typically compressed to 72 DPI, so they look blurry on paper. Full-resolution files from a photographer usually run 4,000 or more pixels on the long edge, which gives your designer room to crop.
3. How should you prepare for your shoot?
A little planning means one session produces several usable frames and no re-shoot.
Book early. Photographers often recommend planning the engagement shoot with save-the-dates in mind. If you hire your wedding photographer first, you can use the same session for your save-the-dates and wedding website.
Chase golden hour. Soft evening light flatters everyone and adds depth behind you.
Plan three outfits. One casual, one semi-formal, and one statement look. Coordinate colors rather than matching exactly. Our outfit formulas show how.
Limit props. Bring two or three that mean something, such as a blanket, a bouquet, or a picnic basket.
Request a mix. Ask for candid movement shots, posed portraits, and at least one tight ring or detail frame.
Pro Tip: Tell your photographer which frames need empty space, such as sky, a wall, or a field, so your designer can place text without covering faces.
Our engagement session checklist covers logistics in more detail.
4. When should you mail them, and what goes on the card?
Timing sets your guests’ expectations. Send save-the-dates 6 to 9 months before a local wedding and 9 to 12 months before a destination wedding. Invitations and RSVPs typically follow 10 to 12 weeks out.
Every card needs four essentials:
The couple’s names
The wedding date
The city or destination
A line such as “Invitation to follow”
That last line matters. Without it, guests sometimes mistake the save-the-date for the invitation. A wedding website link or QR code is a smart fifth element, since guests can check travel and registry updates without a reprint. For lead time and guest list needs, choose printed cards for older relatives and digital sends for a younger, far-flung list.
5. What should you ask a photographer for?
From our side of the camera, the deliverables are simple, and asking for them up front prevents a scramble later.
Request the original high-resolution files, plus both horizontal and vertical crops, so one session covers every card layout your designer might try. Ask for light retouching tuned for print, mainly color balance and contrast, and insist on seeing a designer proof before anything goes to press. We recommend planning your engagement shoot around your save-the-dates from the start, so the best frames are chosen on purpose rather than rescued at the last minute. Clear file requests can help prepare your photos for printing.

6. How do you choose the right photographer or style?
Style matters because it shapes how your face, light, and space come out on a small card. Documentary and candid styles give you laughter and movement. Editorial work gives you polished poses and strong negative space. Light and airy images feel soft and bright, which suits seasonal or waterfront ideas.
Look through full galleries, not highlight reels, and check whether the images stay sharp and uncluttered at small sizes. Ask whether the photographer delivers full-resolution files and multiple crops, and how they handle print-specific edits. Confirm they will plan the session with a card layout in mind.
We shoot in several styles, including documentary, editorial, light and airy, and candid, so you can match your save-the-date to your wedding look. Our wedding photography styles page shows each approach. If you are comparing portfolios, choose the photographer whose people look relaxed, because relaxed faces are the ones you will want on a mailbox card.
7. What does save the date photography cost?
Most couples do not book a separate session just for save-the-dates. The usual route is to fold it into an engagement shoot, which gives you cards, a wedding website photo, and a guest book image from one booking.
When you compare packages, look at what the price covers: session length, number of edited images, whether full-resolution files are included, and whether print licensing comes with them. Extra hours and quick-turn previews cost more, so decide whether you need images before your mailing date.
We handle engagement and proposal photography and videography, and you can see our current package prices on our pricing page. Our wedding packages run from $2,000 to $3,000 for photography, and extra coverage is available at $200 per hour. If a quote for the engagement session itself is not listed, request one directly and we will walk you through options. Booking the engagement shoot at the same time as your wedding package is often the simplest way to keep everything coordinated and on budget.
8. How do you personalize photos with venue or theme elements?
Your venue and theme give the card a point of view before a guest reads a word. A barn wedding might call for fence lines and warm evening light. A garden wedding suits blooms and greenery. A ballroom wedding pairs well with a formal portrait and a black-and-white finish.

Visit the venue, if allowed, and shoot nearby so guests recognize the setting when they see the card. Use your wedding colors in clothing and props rather than matching everything perfectly. A subtle nod works better than a literal one, such as a hint of your florals in a bouquet or a color that appears in the invitations.
Keep the background simple. Strong scenery can compete with your faces at 4x6, so choose backdrops with depth and clean space. If you plan matching favors or themed props, customizable event items can carry your theme through to the shoot. For current looks, our wedding photo inspiration guide shows what is trending.
9. Should your save the date be digital, animated, or video?
Digital save-the-dates are fast, flexible, and easy to share by email or text. Platforms such as Paperless Post offer both print and digital photo templates that connect with wedding websites and email delivery. That makes digital a good fit for large guest lists, tight timelines, or couples who want tracking.
Animated and video versions add movement. A short clip of you laughing, a few photos fading in sequence, or a simple title card can feel more personal than a still. If you plan a video, tell your photographer or videographer early so they can capture footage during the same session.
A few best practices apply to digital sends. Use a high-quality image even though it will be viewed on a screen, because guests may save or screenshot it. Keep the file size small enough to email without clogging inboxes. Include the same four essentials as a printed card, and add your website link. Many couples send digital cards to some guests and printed cards to others, which is a practical way to balance cost and warmth.
10. Do you need permission to shoot at your location?
Rules for photography sessions vary by location. Check with the relevant managing office or property owner about whether permission, permits, or fees apply.
Before the session, check the location’s website or call the managing office. Ask whether a permit is needed, whether fees apply, and whether tripods or props are restricted. Some parks limit shooting hours or require advance notice, and some historic or protected sites have their own rules.
If you plan to photograph at your wedding venue, ask the venue coordinator what is allowed and when. Venue policies for engagement shoots vary.
Your photographer can help, and experienced local photographers often know which spots are easy and which are not. Because requirements differ by city and site, treat the managing office or the local government as the authority for your specific location, and confirm everything in writing when possible. A short email now prevents an awkward conversation at the entrance.
11. How do you coordinate save the date photos with your engagement session?
The easiest plan is to treat your engagement session as the source for every save-the-date image. Tell your photographer your mailing date, your card size, and the layout you have in mind, such as one large photo or a three-photo grid.
Work backward from the mailing window. If you want to send cards 9 months out, schedule the session at least a few months earlier to allow time for editing, design, proofs, and printing. Many couples underestimate how long proofing takes.
Ask your photographer for a mix of horizontal and vertical frames, varied angles, and some off-center compositions, so your designer has real options. During the shoot, pause at a few spots to capture clean space on purpose.
Afterward, choose your favorites together and request full-resolution versions of just those. If you plan on a video save-the-date or a proposal-style reveal, mention it at booking. Our engagement and proposal photography is built around this kind of planning, so one session delivers files for cards, your website, and more.
12. What do we think matters most about save the date photos?
Most advice starts with poses and outfits. We think the order is backward. The file comes first, then the frame, then the styling.
A beautiful portrait can look soft in print if its resolution is too low. The overlooked step is leaving empty space on purpose, because a crowded photo with text squeezed around it makes both the photo and the wording worse. Concepts like grids, props, and seasonal scenes are overrated if they pull attention from your faces at 4x6.
Do the unglamorous things first: request originals, confirm pixel dimensions, respect the bleed and safe zone, and see a proof. Then pick one idea that feels like you, rather than five that feel like a Pinterest board. A simple, sharp, well-lit photo of two people who look happy to be together can be a better choice than an elaborate concept.
— Kellie
13. Want print-ready save the date photos from a professional?
If you would rather not guess at file sizes and crops, we can plan the whole thing with you. We shoot engagement and proposal sessions with save-the-dates in mind, so your designer can plan for what the printer needs.
[
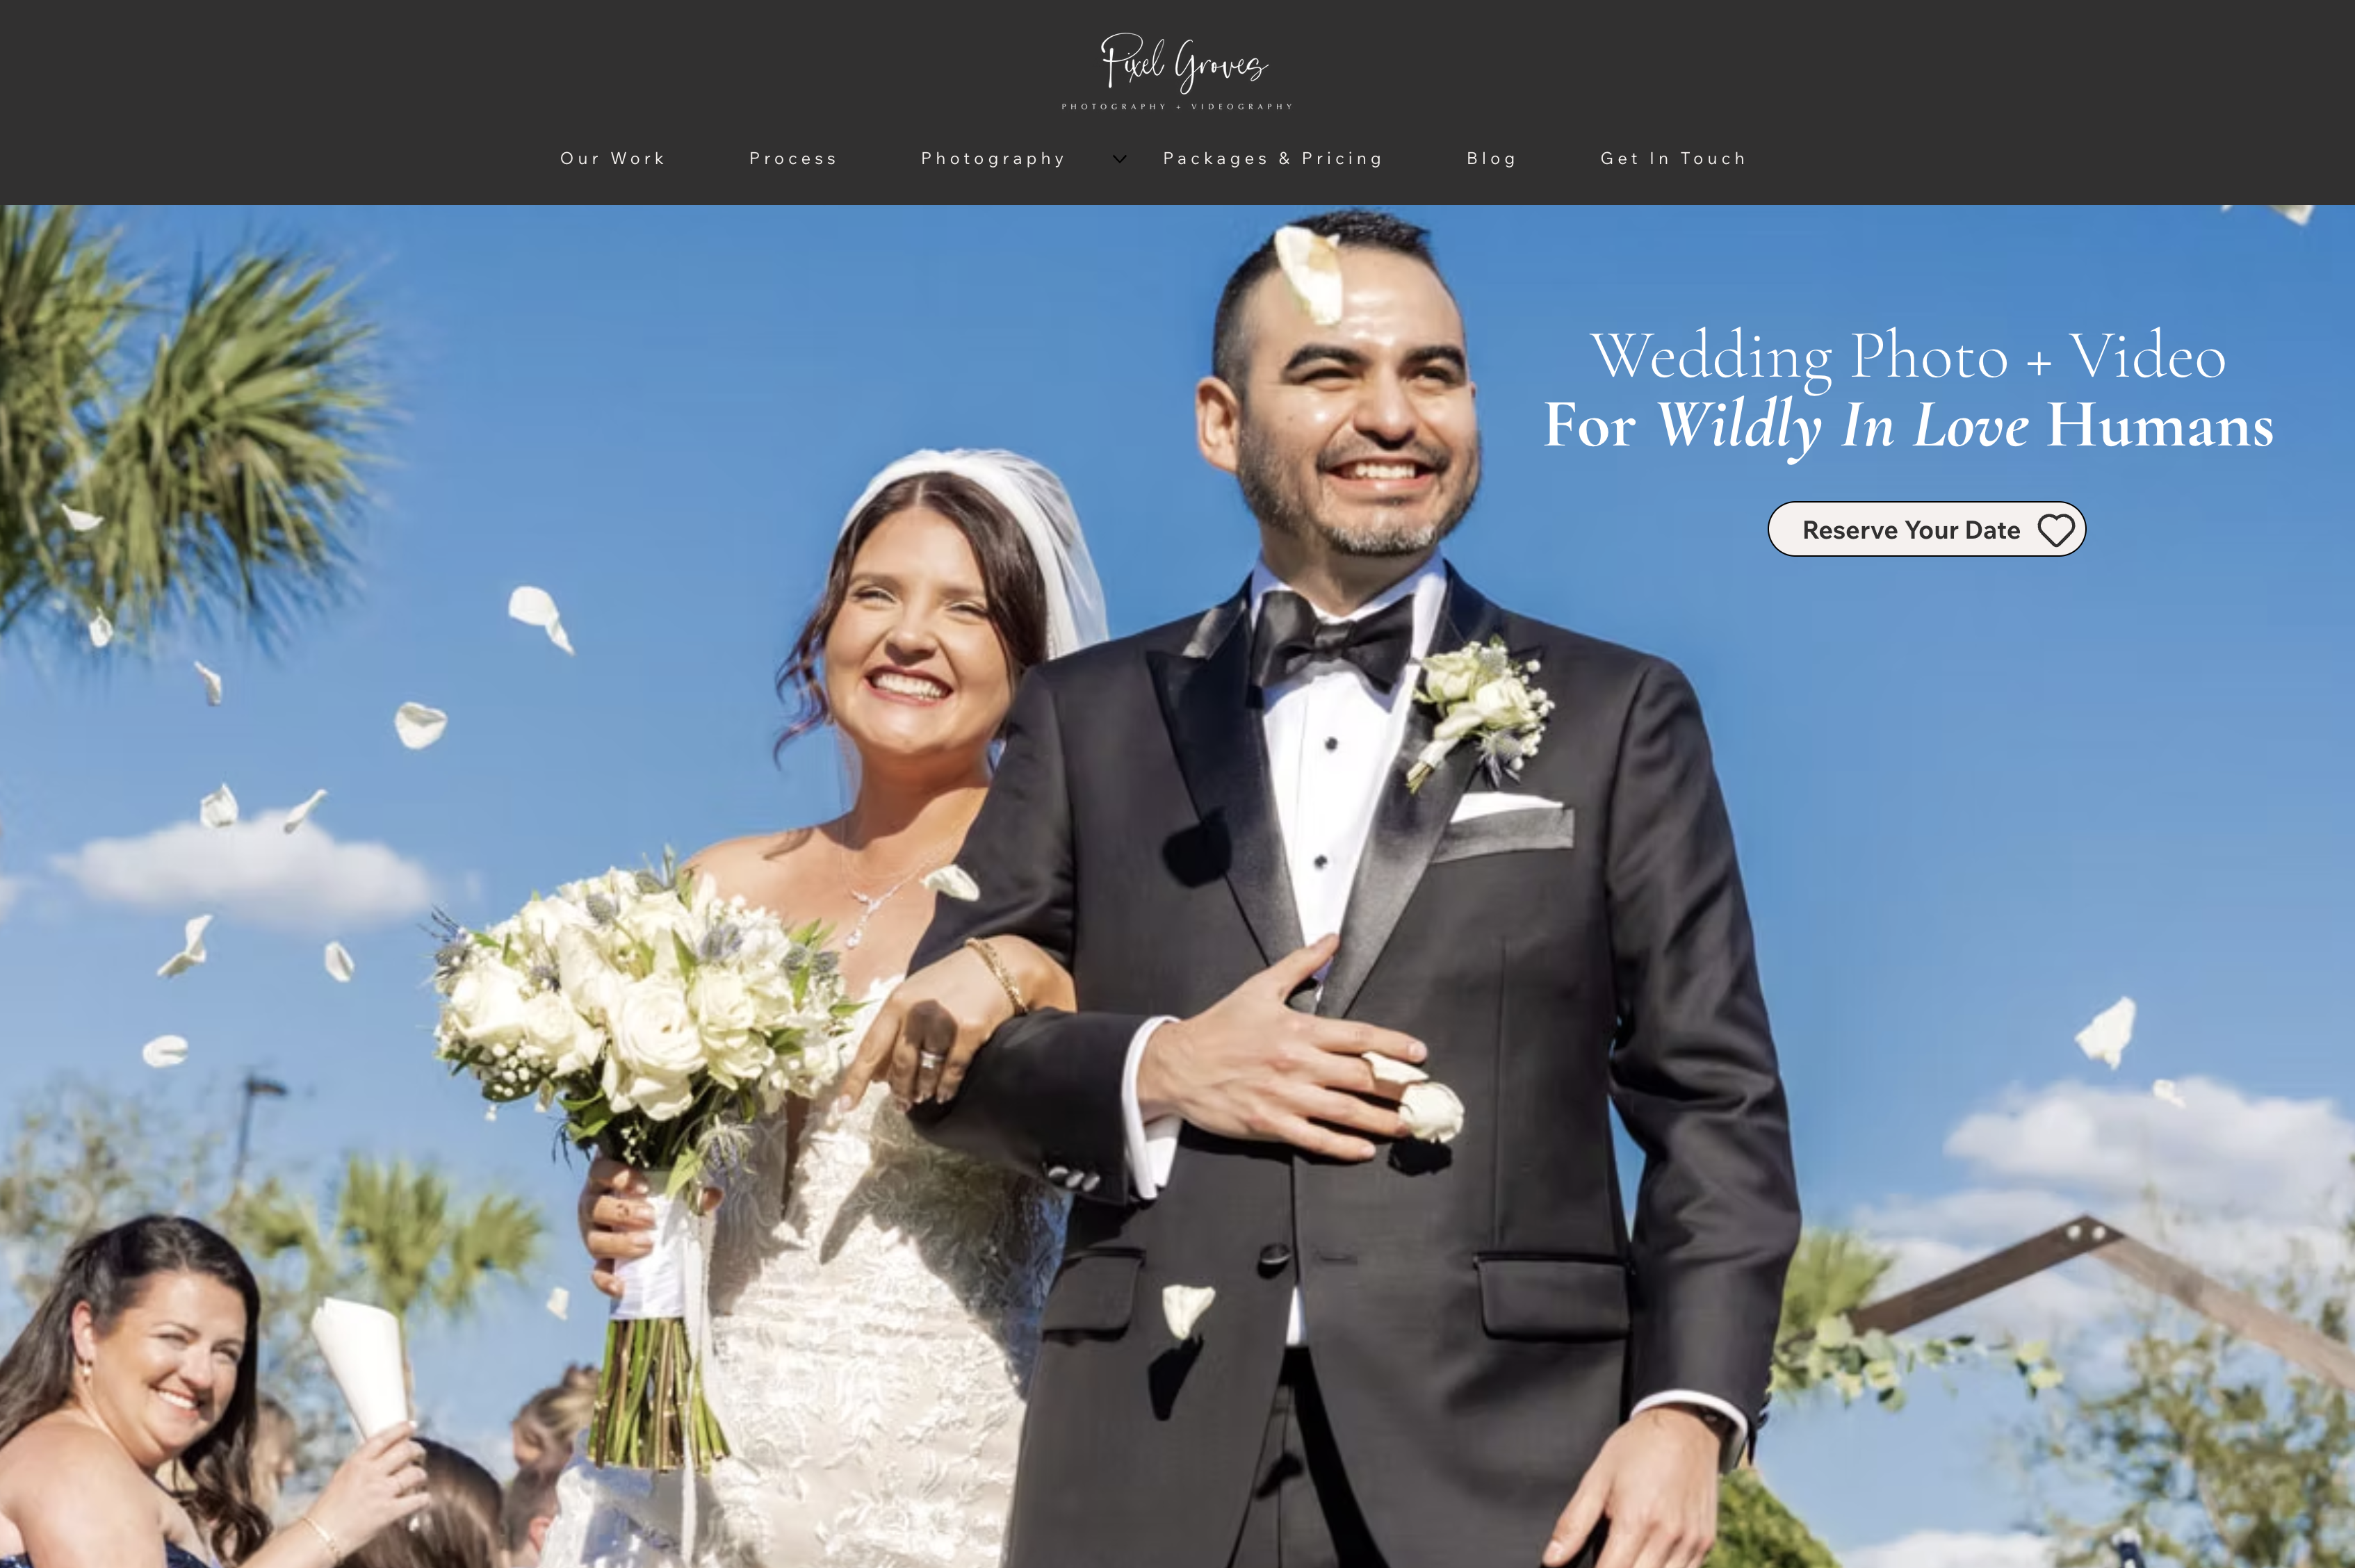
Booking early secures golden-hour sessions and leaves time for proofs and printing.
Our engagement sessions can be planned with your save-the-date photos in mind.
You can compare packages and request a consult on our engagement photographer page or see options on our pricing page.
Tell us your mailing date, and we will work backward from it.
FAQ
What photos should you use for a save the date?
Choose a clear, well-lit portrait where both faces are visible and there is open space for text. Engagement session photos can work well when they are shot with print in mind. Always use the original high-resolution file, not a social media copy.
How far in advance should you send save the dates?
Send them 6 to 9 months before a local wedding and 9 to 12 months before a destination wedding. Earlier is better for guests who must book travel.
How do you create a save the date photo?
Start with a sharp original photo, then set it to 300 DPI at the final card size, add a 0.125-inch bleed, and keep text inside the safe zone. Use a designer or card platform, and review a proof before printing.
What is the 30-5 rule for engaged couples?
It is not a standard wedding-planning rule with an official definition, and sources vary in how they describe it. For save-the-dates, a more reliable guide is the timing window above and the print specs in this article.
Sources
Recommended
Comments