Make Flash Read Like Natural Light: Shoot Day Recipes for Wedding Pros

Choose natural light when you want soft, authentic images with minimal gear; choose flash when you need control, consistency, and the ability to freeze motion on demand. Most working photographers use both in the same session. This guide gives you the recipes, gear numbers, and quick setups to make that call on location, drawing on SLR Lounge research and technique guidance that Canon photographers rely on for flash work.
TL;DR:
Flash provides consistent, controllable lighting essential for events, studio shoots, and situations requiring repeatable results, especially in low-light conditions.
Natural light excels in authenticity and simplicity, making it ideal for portraits, landscapes, and candid photography, but it is unpredictable and dependent on external factors.
Balancing ambient and flash light involves metering for the scene first, then subtly adding flash to enhance shadows without making the lighting obvious.
Genre-specific recommendations favor natural light for outdoor and candid work, while flash is preferred for receptions, formal portraits, and scenarios needing uniformity.
Combining both light sources creatively, such as using gels or slow sync, expands photographic options and produces more natural-looking images.
Table of Contents
Flash vs Natural Light: A Quick Side-by-Side Comparison
Natural light wins on authenticity and simplicity. Flash wins on control. Neither wins outright, which is exactly why the debate keeps circling back to “it depends.”
Daylight is ideal for soft, beginner-friendly images because it requires no extra equipment and produces the kind of gentle falloff that flatters skin. But it’s unpredictable. Clouds roll in, the sun drops behind a building, and your exposure is gone. Flash solves that problem by giving you the same light output on demand, shot after shot, which is why studios and event photographers treat it as the reliable baseline.
Here’s how the two stack up across the factors that actually matter on a shoot:
Best for: Natural light suits’ portraits, landscapes, and candid documentary work; flash suits studio sessions, low-light events, and any job where repeatable results matter.
Control and consistency: Natural light shifts by the minute; flash output stays fixed until you change it, which is why it’s the standard where repeatable results are required.
Equipment needed: Natural light needs a reflector at most; flash needs a speedlite or strobe, a modifier, and often a trigger or stand.
Learning curve: Natural light is forgiving for beginners; flash demands understanding of sync speed, guide numbers, and power ratios before it looks natural.
Typical problems solved: Natural light solves mood and authenticity; flash solves darkness, backlighting, and motion freeze.
Color quality differs too. Daylight and flash both have their own color temperature and rendering characteristics, and pros frequently combine both to get the mood of ambient light with the shape and fill that only artificial light delivers reliably.
When Should You Choose Flash, Natural Light, or Both?
The right choice depends less on personal preference and more on what the specific situation demands. Here’s how that plays out across common photography genres.
Portraits near a window. Position your subject at a 45-degree angle to the light source and let the window act as a giant softbox. Add a reflector on the shadow side if contrast gets harsh. Reach for fill flash only when the room is dim or the window light creates a distracting shadow across the face.
Weddings, ceremony versus reception. Ceremonies usually favor natural or ambient venue light to preserve mood, especially outdoors or in a bright chapel. Receptions almost always need flash. Dance floors are dark, moving, and full of mixed color temperatures that a camera alone can’t handle well.
Studio work. Natural light through a large north-facing window can carry an entire session if you’re shooting one subject in a fixed spot. The moment you need consistent output across multiple looks or a full day of bookings, strobes take over because they don’t depend on the weather.
Street photography. Preserve ambient light whenever possible. It keeps scenes honest and unobtrusive. Selective flash only makes sense for close, deliberate portraits where you want separation from a busy background.
Landscape and product shots. Wide vistas are a natural-light game; no flash unit throws light far enough to matter. Product and macro work flips that logic. A small flash or continuous LED often rescues a foreground subject that ambient light leaves flat.
How Do You Balance Flash and Ambient Light Without Looking Fake?
The order of operations matters more than the gear. Set your ambient exposure first, then add flash as a supplement, never the star.
Meter for the ambient scene alone. Dial in shutter speed, aperture, and ISO as if you had no flash at all. This is your baseline exposure for the background and overall mood.
Add flash at low power. Bring your flash in at a fraction of full output, just enough to lift shadows or add a highlight on the eyes. Practitioners who expose for ambient first and add flash second consistently produce images that read as natural rather than lit.
Shoot a test frame and check the histogram. Don’t eyeball it on the tiny LCD screen. Pull up the histogram and confirm the ambient exposure hasn’t shifted and the flash hasn’t blown out highlights.
Adjust the flash-to-ambient ratio. If the subject looks obviously lit, drop flash power by a stop. If shadows are still too deep, raise it slightly. The goal is a flash contribution you’d have to look twice to notice.
Choose slow sync or HSS based on the light. Slow sync keeps ambient background exposure intact in dim conditions and works well for receptions with string lights or city backdrops. High-speed sync (HSS) matters in bright daylight, since most cameras cap flash sync around 1/90 to 1/250 of a second; going faster than that without HSS produces a dark band across the frame from the shutter curtain.
For backlit portraits, fill flash is what keeps a subject from turning into a silhouette against a bright sky. Aim for output that fills shadows without erasing the rim light the sun is already giving you.
A flash that looks perfect on a 3-inch screen can still be a half-stop hot once you view it larger.*
Genre-by-Genre Lighting Recommendations
Different genres reward different defaults, and knowing which one to reach for first saves you from second-guessing on the day.
Portraits: Work near-window light with a reflector for fill, and only bring an off-camera flash into the mix when the ambient contrast is too extreme to correct in editing.
Weddings: Lean on natural light for candid, emotional moments since daylight exposure affects mood and comfort during long days, but switch to flash for anything scheduled and repeatable, like formal portraits and dances.
Studio: Favor strobes once you need the same light setup across multiple clients or looks in a single day. Repeatability is the whole point of a studio.
Street: Keep flash minimal and be mindful of etiquette. A sudden flash in a stranger’s face draws attention you don’t want and can ruin the candid quality that makes street work interesting.
Landscape and product: Respect the physical limits of your gear. No flash unit competes with sunlight across a valley, but a small flash or LED panel can save a product shot that would otherwise look lifeless.
Gear and Settings Cheat Sheet for Flash Photography
A few numbers make the difference between flash that helps and flash that fights your ambient exposure.
Setting or gear | What it does | Practical note |
Flash sync speed | Limits the fastest shutter speed usable with standard flash | Typically 1/90s to 1/250s depending on camera |
High-speed sync (HSS) | Lets you shoot faster than sync speed with flash | Costs some flash power output in exchange |
Guide number | Indicates flash reach at a given aperture and ISO | Higher guide number means more range for the same settings |
Softbox or umbrella | Spreads and softens light | Reduces harsh shadows, mimics window light |
Bounce card or ceiling bounce | Redirects flash for a softer angle | Works well indoors with light-colored ceilings |
External speedlites extend usable range far beyond a built-in flash, which is one reason Canon’s own technique guides push photographers toward off-camera units for anything beyond casual snapshots.
Keep spare batteries on hand. Recycle time creeps up fast once batteries drop below half charge.
Bounce flash off a ceiling or wall whenever the surface is close and neutral in color.
A diffuser dome softens direct flash but costs you some reach, so budget accordingly in bright rooms.
Creative Techniques for Blending Flash and Ambient Light
Once you’ve got the basics of balancing exposure, a few advanced moves open up looks you can’t get from either light source alone.
Slow shutter plus flash freeze. Drag the shutter to capture ambient light trails, string lights, or motion blur, then let a burst of flash freeze your subject sharp within that same frame. This is a reception dance-floor staple.
Gel your flash to match or contrast ambient color. A warming gel blends flash into golden hour or tungsten venue lighting; a contrasting gel (blue against a warm background) creates a deliberate color separation that reads as intentional rather than accidental.
Rim or backlight flash for separation. Position a flash behind or to the side of your subject, then meter for the background first and add the rim light second. This pulls a subject away from a busy backdrop without needing a wide aperture to do all the work.
Off-camera flash used this way, positioned like a natural light source rather than fired straight at the subject, reads as unobtrusive in wedding reportage rather than obviously staged.
Pro Tip: When gelling flash for a warm reception, hold the gel up to the venue’s ambient light source first and eyeball the match before you tape it on. A slightly warm gel almost always blends better than an exact match once skin tones are involved.

How Pixel Groves Approaches Lighting on Wedding Days
Recognition like the 2025 Best of Florida Wedding Photographer Award doesn’t come from picking one light source and sticking to it. It comes from reading each moment and adjusting fast.
On a typical wedding timeline, natural light carries first looks, outdoor ceremonies, and golden hour portraits, while flash comes out for dim reception halls, dance floors, and any formal group shot where consistency across dozens of frames matters more than mood.
Outdoor and window-lit moments lean on ambient light and reflectors, similar to the setups covered in our golden hour portrait guide.
Reception coverage and formals lean on flash for reliability, an approach detailed further in our guide to balancing candid and posed shots.
Outdoor venues across Florida bring their own lighting quirks, which our outdoor lighting guide walks through in more detail.
Ready to Book a Photographer Who Reads Light on the Fly?
Every recipe in this guide is easier to talk about than to execute at 6:45 PM when the reception lights just came up and the first dance is starting. Pixel Groves builds wedding-day timelines around exactly that shift, moving from natural light during ceremonies and portraits to flash once the reception demands consistency across every formal shot and dance floor frame.
[
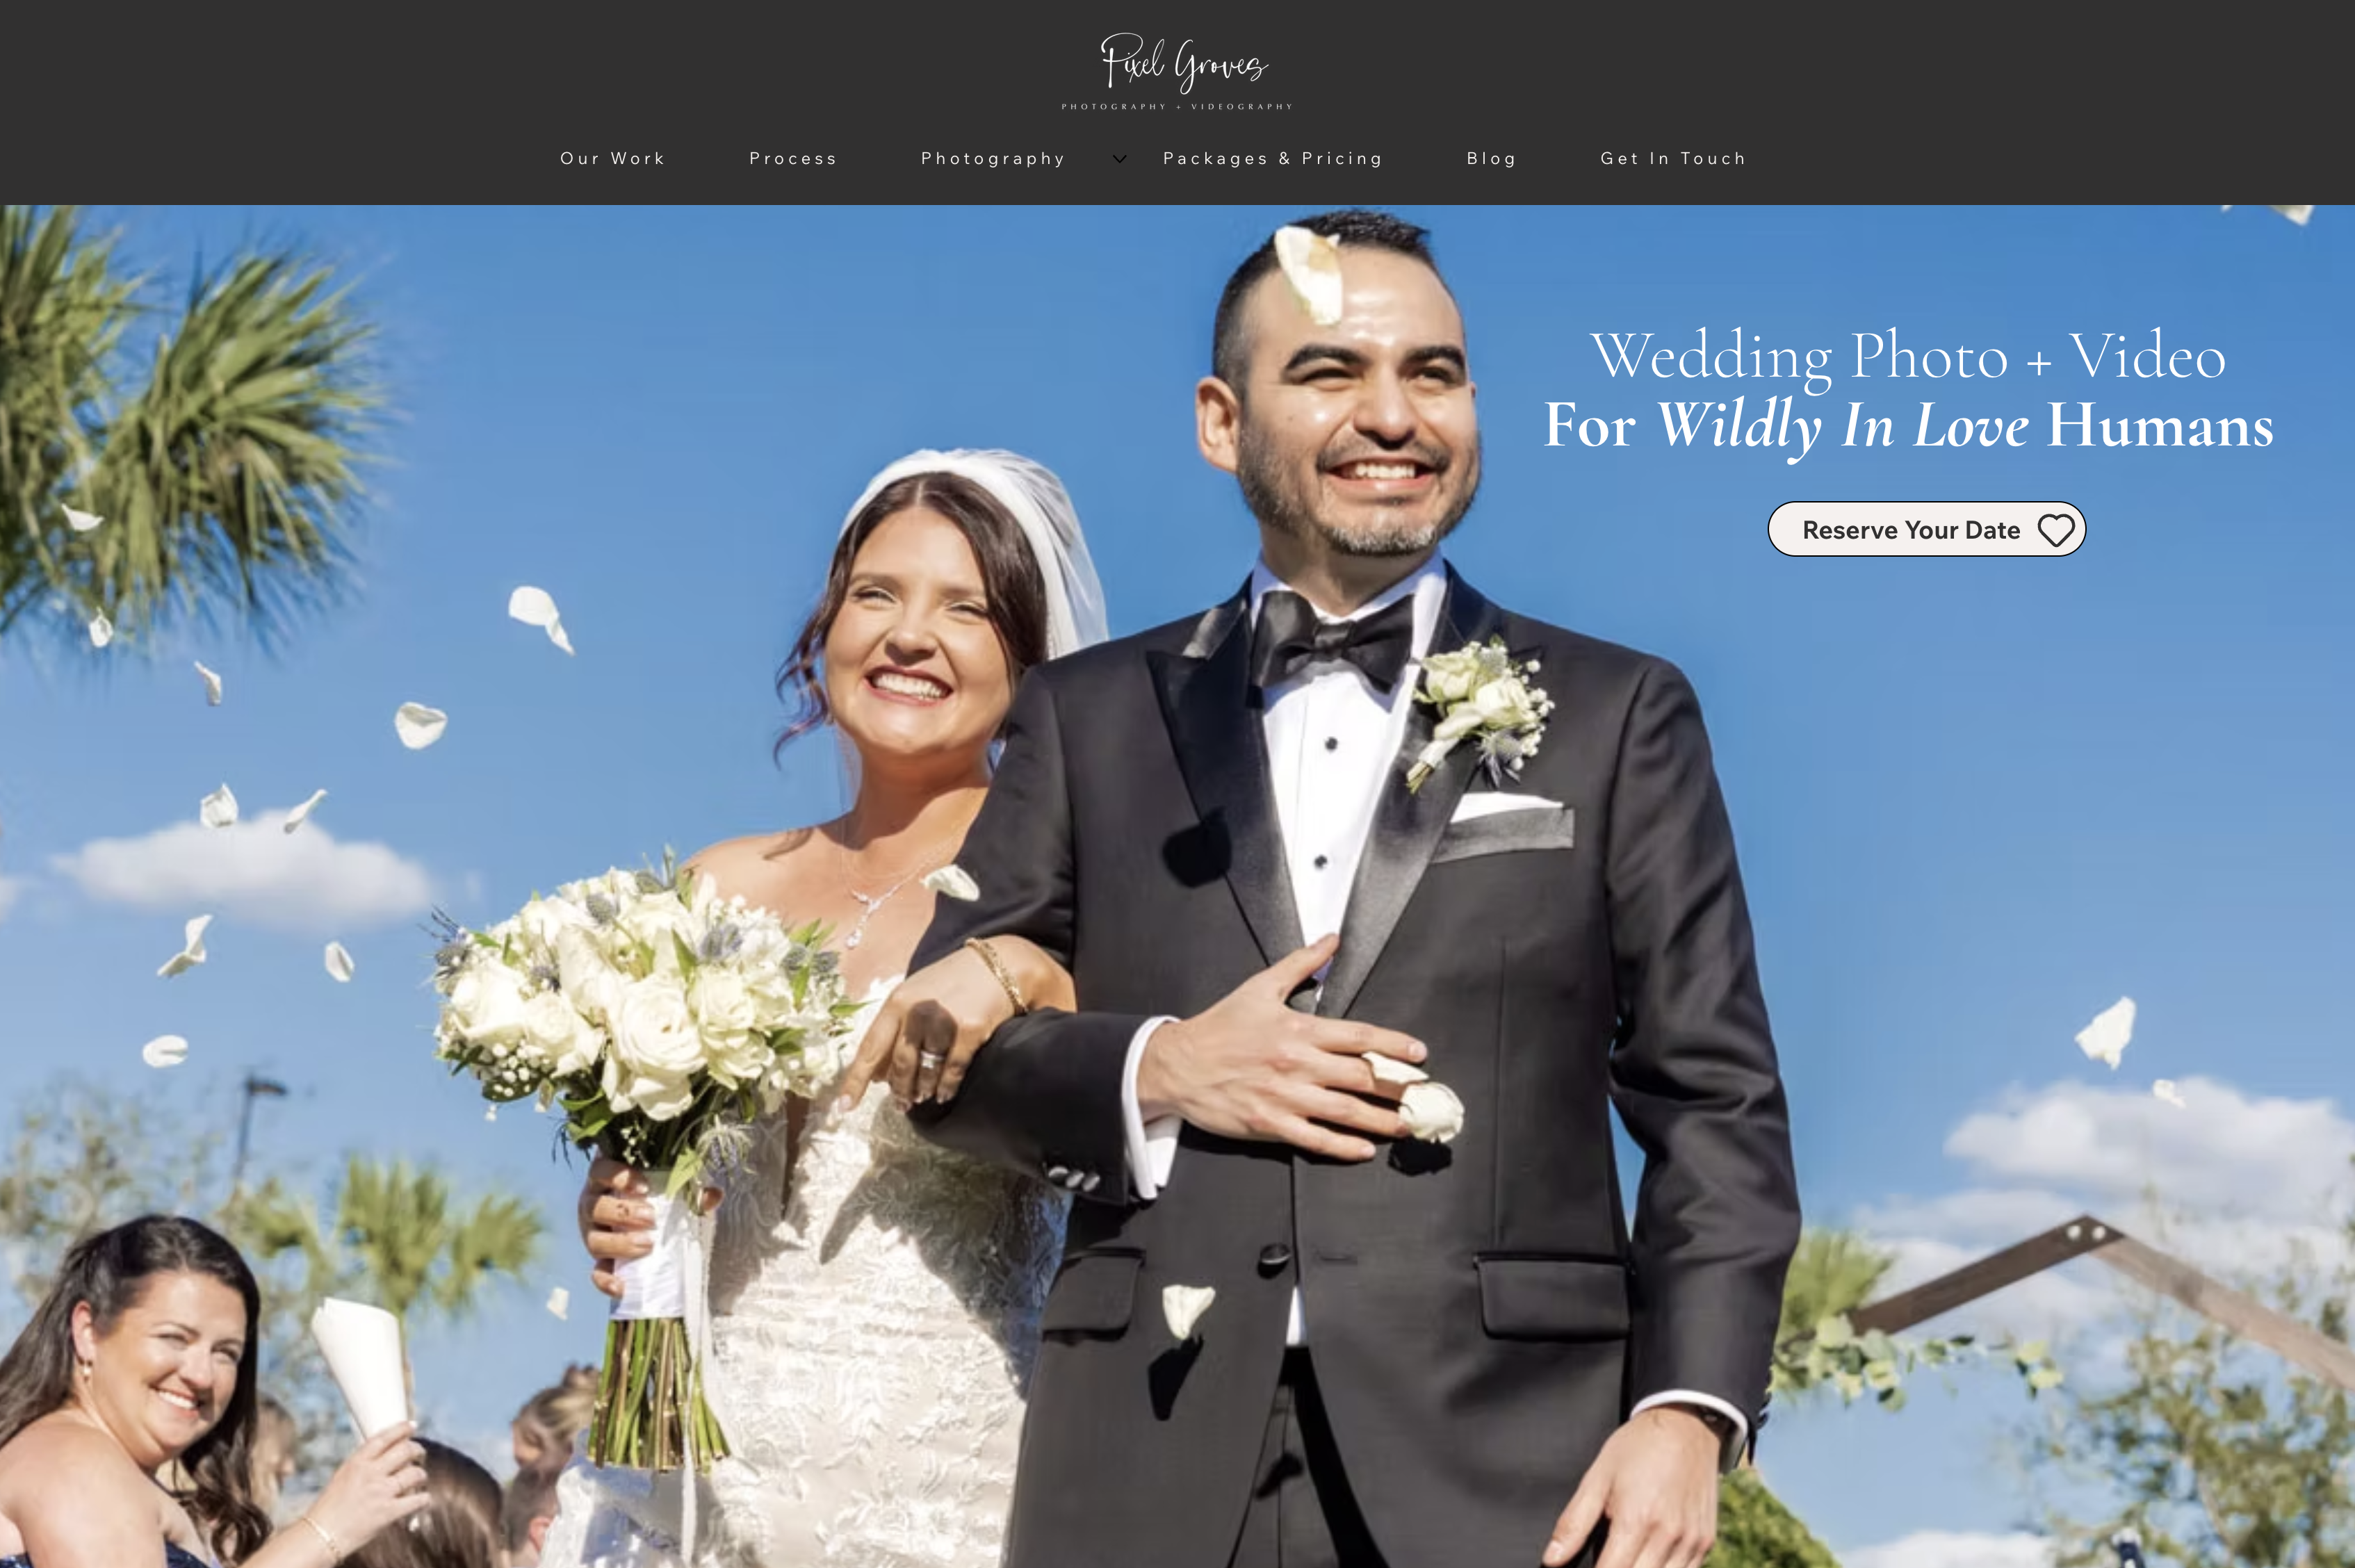
If you’re planning a Florida wedding and want a team that treats lighting as a decision made in real time rather than a fixed setting, check the Premium, Exclusive, Orange, and Green Photography Packages for full-day coverage options. Engagement sessions are a lower-stakes way to see this approach in action before your wedding day, and you can start with the engagement and proposal photography page to see what’s included. When you send an inquiry, mention any lighting preferences (golden hour outdoor portraits, moody indoor reception coverage) and a couple of sample shots you love, so the timeline can be built around the light you actually want.
Sources
Photographers who get comfortable with flash tend to read ambient light better too, because understanding how artificial light behaves sharpens your eye for how natural light falls. The two skills feed each other.
Try three short drills: 30 minutes of window portraits paying attention only to shadow direction, 30 minutes of outdoor fill flash against harsh midday sun, and 30 minutes of slow-sync practice at dusk. Do all three and you’ll start seeing light differently on every shoot after.
— Kellie
FAQ
Do photographers still use flash?
Yes, flash remains standard equipment for professionals, especially where consistency and control matter more than spontaneity, like receptions, studio sessions, and formal group portraits. Many photographers pair flash with natural light rather than choosing one exclusively.
Are flashbulbs still made?
Old-style disposable flashbulbs are largely obsolete for professional work; modern photographers use reusable electronic speedlites and studio strobes instead. These units offer adjustable power, faster recycle times, and far greater reach than vintage flashbulbs ever did.
Why do I look better with flash photography?
Flash can fill in shadows under the eyes and chin, add a catchlight to the eyes, and freeze motion that would otherwise blur. Used at low power against ambient exposure, it sculpts the face without the flat, washed-out look people associate with harsh on-camera flash.
Is it better to raise ISO or use flash?
It depends on the shot. Raising ISO preserves the natural, unlit look of a scene but introduces noise and can’t freeze fast motion in dim light, while flash keeps noise low and freezes movement but adds a distinct light source you have to balance against the background. For portraits and events where sharpness and consistency matter, flash paired with a reasonable ISO usually beats pushing ISO alone.
Comments