The Photo Selection Process: A Workflow Guide for Photographers and Clients
- 1 day ago
- 13 min read

The photo selection process, known in professional circles as culling, is the repeatable workflow photographers use to reduce a full shoot down to the images worth editing and delivering. Done well, it prevents hours of wasted editing time, keeps your Lightroom catalog clean, and gives clients a gallery that tells a coherent story rather than a bloated dump of every frame you fired.
The process typically covers four core stages:
Import and backup — getting files off cards safely before anything else
First-pass rejects — pulling out technical failures fast
Second-pass standouts — flagging the best frames from each scene
Final selects and delivery list — narrowing to the exact count going to the client
Every photographer benefits from a consistent culling system. So do clients, who get better galleries faster when their photographer isn’t editing frames that should have been rejected in pass one.
Key Takeaways
A disciplined multi-pass selection workflow, completed before any editing begins, is the single most effective way to save time and deliver stronger galleries.
Point | Details |
Cull before you edit | Running selection passes before editing prevents wasted time on frames that will never be delivered. |
Use consistent ratings | A simple star or flag system (keep / strong / hero) applied consistently speeds every pass and reduces second-guessing. |
Back up originals first | Apply the 3-2-1 rule before deleting anything: three copies, two media types, one offsite. |
Set clear client expectations | State your delivery count range and revision rounds in the contract before the shoot. |
Pixelgroves’ workflow | Pixelgroves uses a multi-pass system with guided client proofing to deliver a carefully curated gallery for each full wedding day. |
Table of Contents
What is the photo selection process, and how does it work?
A reliable four-stage culling workflow moves from import through three increasingly selective passes, with each stage answering a single question before handing off to the next.
Import and backup. Copy files to your working drive and at least one backup location before touching anything. Rename files with a consistent convention (date + shoot name + sequence number) so nothing gets lost or overwritten. This stage has one rule: do not cull until the backup is confirmed.
First pass: Is this usable? Move fast. Reject anything with a fatal technical flaw — missed focus, severe motion blur, blown highlights with no detail, or a completely closed blink. You are not choosing favorites yet; you are pulling garbage. Speed matters here. A typical wedding shoot of several thousand frames should lose a substantial portion in this pass.
Second pass: Is this one of the best? Now slow down slightly. From the surviving frames, flag or star the standouts. Look for strong emotion, decisive moments, clean composition, and light that works. When you have near-duplicates from a burst, pick the hero and archive the rest.
Final pass: Does this belong in the delivery gallery? Check variety across the set — framing, emotion, lighting, and scene coverage. Trim to your target delivery count. This is where client input typically enters, either through a proofing gallery or a guided review session.
The 3-pass method maps almost exactly to stages two through four above. The key principle it reinforces: culling is not editing. Keep them separate, and your editing sessions become dramatically more focused.
How to perform each pass: step-by-step actions
Import and file setup
Copy cards to your primary working drive using a tool like Photo Mechanic or your OS file manager.
Immediately copy to a second drive or cloud backup. Apply the 3-2-1 backup rule — three copies, two different media types, one stored offsite — before you delete anything from the cards.
Rename files on import: YYYYMMDD_ShootName_0001.RAW keeps things sortable and collision-free.
Create a folder structure by shoot date and event name. Never cull from the card itself.
First pass: reject the obvious failures
Open your culling tool in grid or filmstrip view.
Use keyboard shortcuts aggressively: in Lightroom, X flags a reject; P flags a pick; right arrow advances. In Photo Mechanic, T tags a frame.
Reject criteria: out-of-focus subject, motion blur on faces, severe exposure failures, duplicate blinks, obstructed lens, and accidental frames.
Do not pause to admire good frames yet. The goal is speed, not selection.
Second pass: mark your standouts
Filter to non-rejected frames only.
Use stars (1–5) or color labels to mark standouts. A simple system: 1 star = keep, 2 stars = strong, 3 stars = hero. Avoid elaborate rating scales that slow you down.
For near-duplicates, use Lightroom’s Survey view (press N) to compare two to five frames side by side. Pick the sharpest expression, then archive the rest.
Selecting before editing produces a cleaner catalog and makes batch presets more consistent because the set already reflects the intended story and visual tone.
Final pass: build the delivery list
Filter to your starred frames and check the full set for variety: Are all key moments covered? Is there a mix of wide, medium, and close shots? Does the emotional arc hold from ceremony to reception?
Trim to your target count (see client delivery section below).
Move approved frames into a collection or album in Lightroom, or a tagged group in Photo Mechanic, ready for editing.
Checklist before handing off to editing:
No duplicate scenes without a clear reason
At least one wide, one medium, and one close-up per major moment
Consistent exposure range across the set (no wild outliers that will break batch edits)
File count matches your contracted delivery number
Pro Tip: Set a timer for each pass. Give yourself 20 minutes for the first pass on a 1,500-frame shoot. When the timer goes off, commit to what you have. Timed passes prevent the perfectionism spiral that turns a two-hour cull into a six-hour one.
What criteria should you use to accept or reject a photo?
Good photo selection criteria split cleanly into two buckets: technical rejects and artistic keepers.
Technical rejects (remove immediately)
Focus miss — the intended subject is soft while the background is sharp
Motion blur on faces — acceptable on hands or background elements, not on eyes
Exposure beyond recovery — blown whites with no highlight detail, or crushed blacks with no shadow information
Distracting elements — a stray arm cutting the frame, a garbage can in the background that can’t be cropped
Closed eyes or mid-blink — unless it’s the only frame of a critical moment
Duplicate blinks or misfires — accidental frames, lens caps, test shots
Artistic keepers (flag these)
Genuine emotion — a laugh, a tear, a quiet glance that tells the story
Decisive moment — the exact peak of an action or reaction
Strong composition — leading lines, natural framing, rule of thirds used with intention
Quality light — golden-hour warmth, clean window light, dramatic shadow play
Story continuity — frames that connect scenes and keep the narrative moving
Tie-break rules for near-duplicates
When two frames are technically equal, apply this order: sharpness first, expression second, fit with the gallery’s visual style third. Professional jury-based selection uses the same logic: image quality, composition, overall impact, and avoiding subject duplication all factor into the final cut.
Decision tree for keep vs. archive vs. delete:
Keep: passes technical criteria AND has emotional or compositional impact
Archive: technically acceptable but redundant; keep for six months, then review
Delete: fatal technical flaw with no redemptive quality; safe to remove after backup is confirmed
A quick three-question heuristic works well for borderline frames: Would you share this today? Is it the best of the similar shots? Will you care about it in six months? If the answer to all three is no, it goes.
Which tools speed up your selection workflow?
The right tool depends on where you are in the four-stage flow. Here is how the main options map to each stage.
Adobe Lightroom Classic
The industry standard for catalog-based selection and editing. Lightroom’s flagging system (pick, reject, unflagged), star ratings (1–5), and color labels give you three independent layers of sorting, which is more flexibility than most photographers need. The Survey view (N key) and Compare view (C key) are the fastest ways to resolve near-duplicates. Lightroom’s selection-first approach — cull, then edit — keeps the catalog from filling with half-edited rejects.
Photo Mechanic
Photo Mechanic ingests and displays RAW files faster than Lightroom because it renders embedded JPEG previews rather than decoding the full RAW. For a 2,000-frame wedding shoot, that speed difference is real. Use it for the first pass, tag your picks, then import only the tagged frames into Lightroom for the second pass and editing. It does not replace Lightroom; it front-loads the fastest part of the cull.
Aftershoot (AI-assisted culling)
AI culling tools like Aftershoot automatically flag closed eyes, blur, and near-duplicates, and recommend the best frame from each burst. The time savings on a large wedding shoot are significant. The trade-off: AI recommendations reflect pattern recognition, not your creative intent. Use Aftershoot to handle obvious rejects and group bursts, then review its picks manually before committing. Accepting AI selects blind is how galleries end up technically correct but emotionally flat.
Affinity Photo
Affinity Photo is not a culling tool. It belongs at the editing stage, after selects are finalized. Its strength is non-destructive RAW processing, retouching, and compositing for the images that made the cut. Think of it as the destination after Lightroom or Photo Mechanic have done the selection work.
Manual vs. AI-assisted culling
Method | Speed | Creative control | Client input stage |
Manual (Lightroom) | Moderate | Full | After final pass |
Manual (Photo Mechanic) | Fast | Full | After final pass |
AI-assisted (Aftershoot) | Very fast | Requires review | After AI pre-sort |
Hybrid (AI pre-sort + manual review) | Fast | High | After manual review |
Pros and cons at a glance:
Lightroom: deep integration with editing; slower ingestion on large shoots
Photo Mechanic: fastest first-pass tool available; no editing capability
Aftershoot: saves the most time on large shoots; requires a review pass to catch creative misses
Affinity Photo: excellent editing alternative to Photoshop; not designed for culling
How do you make selection faster without losing quality?
Speed in culling comes from removing decisions, not rushing them. These techniques do exactly that.
Timebox each pass. Budget roughly 10 minutes per 500 frames for the first pass, and 15–20 minutes per 500 for the second. A full wedding day of 1,500 frames should take no more than 90 minutes total across all passes.
Use keyboard shortcuts exclusively. Mouse-clicking through a 2,000-frame shoot adds minutes. In Lightroom: X to reject, P to pick, right arrow to advance, ** to toggle the filter. In Photo Mechanic: T to tag, arrow keys to navigate.
Batch by lighting group. Sort your shoot into lighting contexts (ceremony interior, cocktail hour exterior, reception) before you start. Culling within a consistent lighting group keeps your eye calibrated and makes near-duplicate comparisons faster.
Commit to a rating legend and never change it mid-shoot. Example: 1 star = keep for editing, 2 stars = hero for album, 3 stars = portfolio candidate. Switching systems halfway through forces a re-review.
Use practical selection strategies: start by finding your best frames first, eliminate similar shots early, and be ruthless about duplicates. This approach speeds the process and sharpens your eye over time.
Pro Tip: Group near-duplicate bursts together before you start the second pass. Choosing the hero image from a group of five similar frames is faster than encountering them scattered across the shoot. It also preserves variety in the final gallery because you are consciously picking one from each scene rather than accidentally keeping three.
How should you present selects to clients and handle revisions?
Client delivery is where the selection process becomes a conversation. Getting this right saves everyone time and prevents the “can I see the others?” spiral.
Recommended delivery counts by shoot type
Full-day wedding (8+ hours): 400–600 edited images is a widely used professional range. Below 400 feels thin for a full day; above 700 often means the cull wasn’t ruthless enough.
Portrait session (1–2 hours): 30–60 final images. Clients rarely need more, and a tight edit looks more intentional.
Event coverage (4–6 hours): 150–300 images depending on guest count and activity density.
Set these expectations in your contract before the shoot. Clients who know they will receive 400–500 images don’t ask for 800.
Presentation formats
Private online gallery (platforms like Pixieset or Pic-Time): the standard for wedding delivery. Clients can favorite images, download, and share without you sending files back and forth.
Proofing gallery with client selects: send a larger proof set (say, 600 images) and ask the client to favorite their top 400–500. This works well for clients who want input on the final edit order or album layout.
In-person review: useful for album design sessions where you walk through the story together. Time-intensive but produces the clearest direction.
Dos and don’ts for client selects
Do send a curated proof set, not the raw full shoot. Clients presented with 2,000 unedited frames make worse decisions and take longer.
Do label scenes clearly (“Ceremony,” “First Dance,” “Portraits”) so clients can navigate without getting lost.
Don’t ask open-ended questions like “pick your favorites” without a target number. Give them a range: “Please favorite 450–500 images.”
Don’t allow unlimited revision rounds. Two rounds of client feedback is standard. State this in the contract.
For clients reviewing wedding photographer portfolios, the same selection instincts apply: look for emotional consistency, variety of moments, and a clear visual style across the gallery rather than individual standout frames.
Handling revision requests
Keep a version log: original delivery, revision 1, revision 2. If a client requests a swap after delivery, check whether the replacement frame was in the original proof set. If it was, swap it. If it wasn’t, that is a new request outside the original scope and should be handled as an add-on. Clear version control prevents “I thought you were going to include that one” disputes weeks after delivery.
What are the best export settings and backup practices?
Final export checklist
Before delivering files, confirm:
File format: JPEG for client delivery (sRGB, quality 90–95 for web/print); TIFF for print labs requiring maximum quality
Color profile: sRGB for web and social; Adobe RGB or ProPhoto RGB only when the print lab specifically requests it
Resolution: 300 PPI for print files; 72–96 PPI for web/social (or export at full pixel dimensions and let the platform resize)
Sharpening: output sharpening on in Lightroom (screen or print, depending on destination)
Metadata: copyright field populated, contact info embedded, keywords added for archival search
Copyright and usage rights
Embed your copyright notice in every delivered file: your name, year, and “All Rights Reserved” or your specific license terms. In the United States, copyright attaches to the photographer at the moment of capture, but embedding metadata makes enforcement straightforward. If a client has purchased specific usage rights (commercial, editorial, personal), note those terms in the filename or a separate delivery document.
Common export settings
Destination | Format | Color profile | Long edge | PPI |
Web gallery | JPEG | sRGB | 2048 px | 72 |
Social media | JPEG | sRGB | 1080–2048 px | 72 |
Print (consumer lab) | JPEG | sRGB | Full resolution | 300 |
Print (pro lab) | TIFF | Adobe RGB | Full resolution | 300 |
Archival backup
Apply the 3-2-1 backup rule to your originals: three copies, two different media types (e.g., internal drive + external drive), one stored offsite (cloud or physical off-site drive). Do not delete cards until all three copies are confirmed. After delivery, archive the RAW originals and the edited masters separately. A client asking for a reprint two years later should never be a problem.
How Pixelgroves handles selection for a full wedding day
A full-day wedding at Pixelgroves typically produces 1,500–2,000 RAW frames across the primary shooter and second shooter. Here is how the studio moves from card to client gallery.

Day-of: Cards are offloaded to the primary working drive during the reception. A backup copy goes to a second drive before the team leaves the venue. No culling happens on-site.
Day after the wedding: The first pass runs on the full shoot. Obvious technical rejects come out fast using Photo Mechanic’s rapid ingestion and tagging.
Within 48 hours: The second pass runs in Lightroom Classic. The editor flags standouts using a two-tier star system (1 star = keep, 2 stars = album candidate) and resolves near-duplicates using Survey view. The studio’s internal rule: deliver a complete emotional arc, not just the prettiest frames. That means every key moment — first look, vows, ring exchange, first dance, cake cut, candid reception moments — has coverage regardless of technical perfection.
Client proofing: A private gallery goes to the couple within the contracted turnaround window. Couples are asked to favorite their top selections for album design. Pixelgroves allows two rounds of revision feedback, which is stated in the contract before the wedding.
Final delivery: Edited images are exported as high-resolution JPEGs (sRGB, 300 PPI for print, full pixel dimensions) and uploaded to the client gallery. RAW originals and edited masters are archived on separate drives following the 3-2-1 rule.
Typical final delivery: several hundred edited images for a full day
Turnaround: within the contracted window stated at booking
Album design selects: guided by the couple’s favorites from the proofing gallery
Revision rounds: two, as stated in the contract
Pro Tip: When selecting for a wedding gallery, build the story in sequence before you worry about individual frame quality. A slightly imperfect frame of the father’s reaction during the first dance belongs in the gallery. A technically perfect frame of an empty chair does not. Story first, then quality.
For couples building their shot list before the wedding, a clear wedding photography shot list makes the selection process faster because both the photographer and the couple already agree on which moments are non-negotiable.
The part of culling most photographers get wrong
Most photographers treat culling as a chore to get through before the “real work” of editing. That framing is backwards, and it costs them time and gallery quality.

The selection pass is where the story gets built. Every frame you choose to keep is a decision about what the wedding meant, what the couple will show their children, what your portfolio says about your eye. Rushing it, or outsourcing it entirely to an AI without review, produces galleries that are technically clean but narratively thin.
The photographers who deliver the most consistent work are the ones who have internalized their own selection criteria so deeply that the first pass is almost automatic. They know immediately whether a frame fits their style. That clarity comes from doing the cull yourself, repeatedly, until your instincts are calibrated.
AI tools like Aftershoot are genuinely useful for the mechanical part: flagging blinks, grouping bursts, pulling obvious rejects. Use them for that. But the second pass, where you decide which frames carry the story, belongs to you. A gallery that moves people is not an accident of good shooting. It is the result of disciplined selection.
Pixelgroves’ approach to wedding photography and client proofing
Pixelgroves delivers wedding photography packages built around the same multi-pass selection system described in this guide. Every couple gets a guided proofing experience: a private gallery with clearly labeled scenes, a recommended favorites count, and direct access to the team for questions during the review window.
[
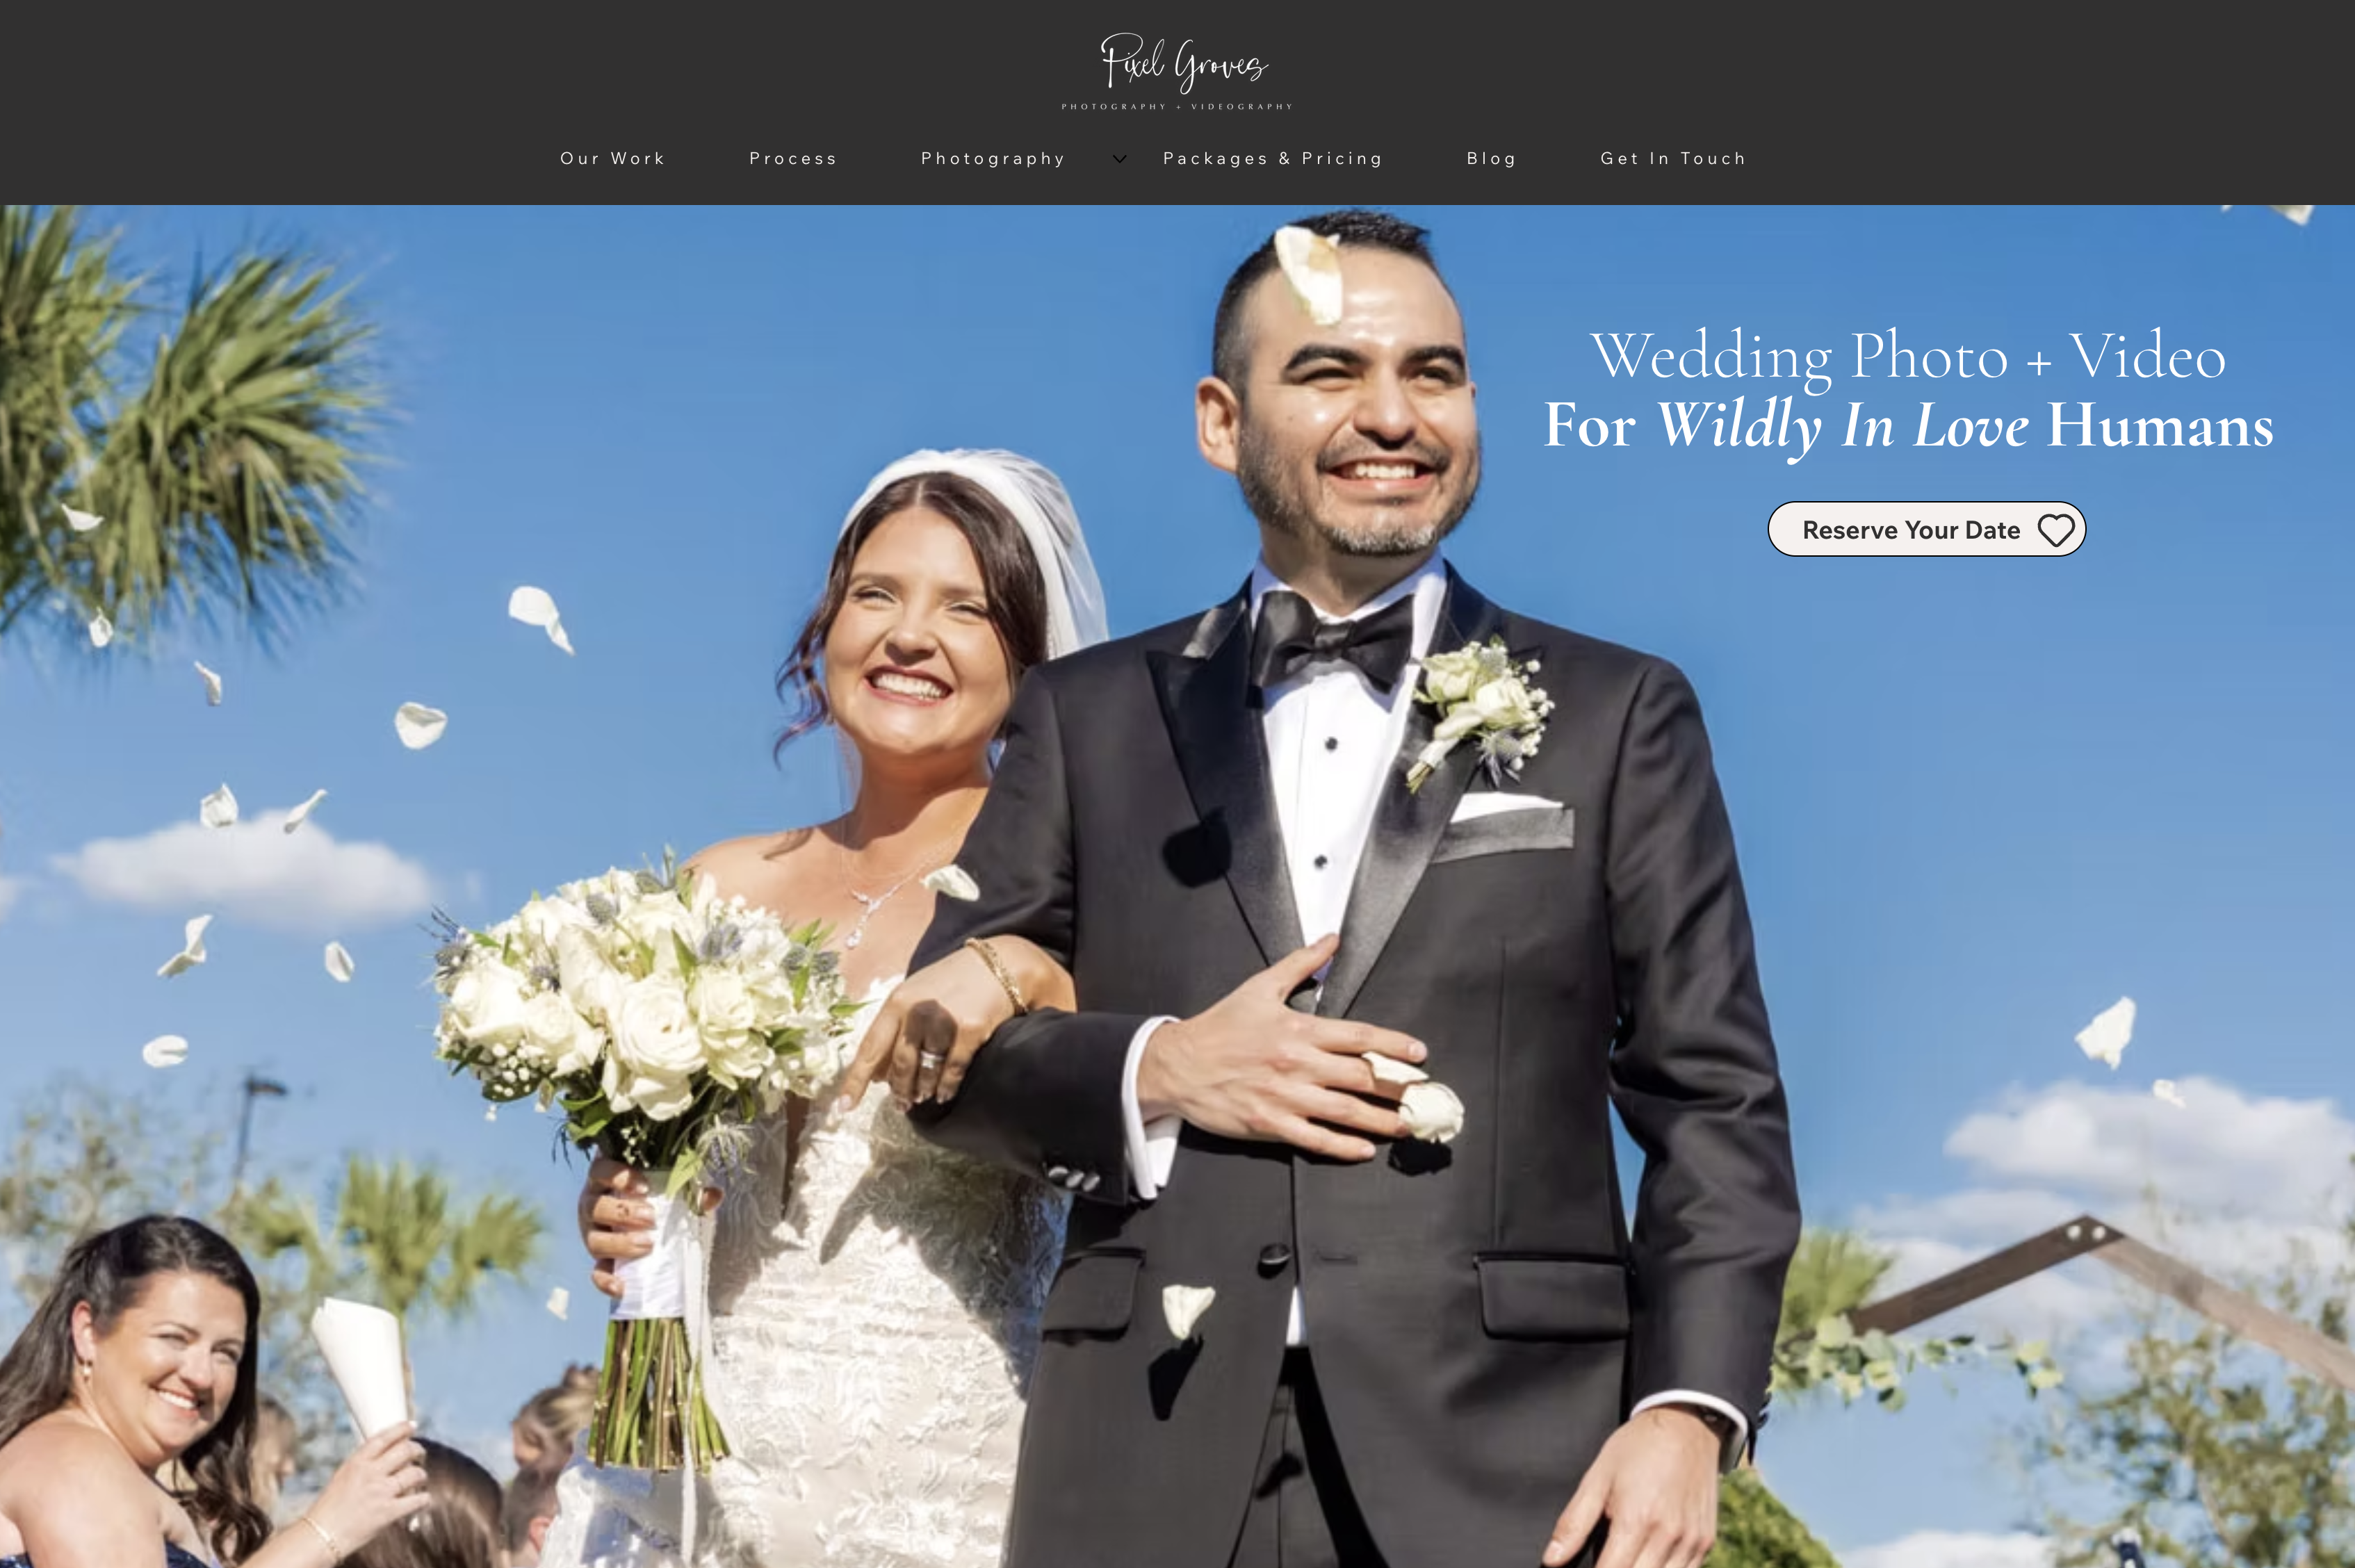
The studio’s 2025 Best of Florida Wedding Photographer Award reflects a consistent approach to storytelling that starts at the selection stage, not the editing stage. Packages cover full-day coverage, engagement sessions, and photo booth rentals, with fast turnaround options available. View pricing and packages or reach out directly to discuss your wedding date and coverage needs.
Sources
Recommended
Comments