Tearful Ceremony Moment Photography Tips for Wedding Photographers
Updated: 2 days ago
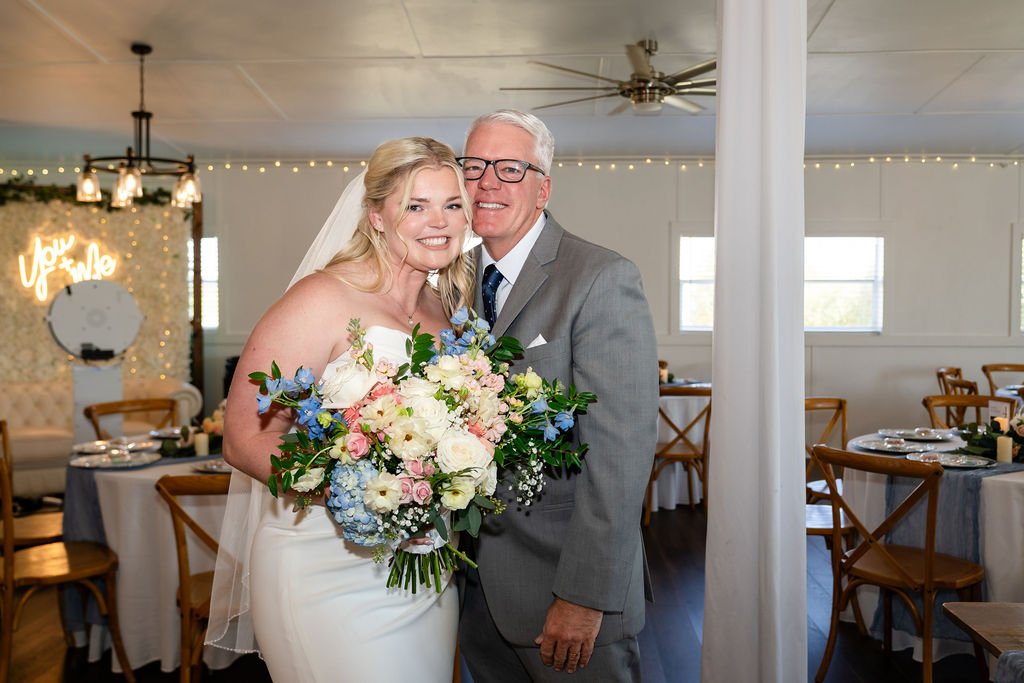
To reliably capture tearful ceremony moments, plant a telephoto shooter on the side aisle with a 70–200mm f/2.8, continuous AF locked on the face, and burst mode ready before the processional begins. Stay invisible. That single setup decision determines whether you get the shot or a blurry, too-late frame of someone wiping their cheek.
Here is the fast version before the full playbook:
Position: Side aisle, 15–25 feet from the couple, telephoto at eye level
Lens: 70–200mm f/2.8 or 85mm f/1.4 for close-ups; 24–70mm for context
Settings: f/2.8–f/4, 1/200s minimum, ISO 1600–6400 depending on light
AF mode: Continuous AF (AI Servo on Canon, AF-C on Nikon/Sony) with face/eye detection
Drive: High-speed burst, 8–20 fps, during vows and ring exchange
Communication: Ask the officiant before the ceremony where the vows and ring exchange fall in the timeline
Second shooter: Assign them the parent and guest reactions while you cover the couple
Natalie Franke’s guidance on engagement sessions and SLR Lounge’s ceremony choreography framework both underpin this playbook. Pixelgroves has built its ceremony workflow around the same principles, refined across hundreds of Florida weddings.
Table of Contents
What pre-ceremony preparation makes tearful moments photographable?
What camera settings preserve tear detail in low-light ceremonies?
Which lenses and gear reliably capture tearful ceremony moments?
How do you meter and light a scene to preserve tear highlights?
How do you sequence shots so you never miss the decisive tear?
How should you edit tearful ceremony photos without over-processing them?
Pixelgroves’ approach to photographing tearful ceremony moments
What pre-ceremony preparation makes tearful moments photographable?
The most underrated tearful ceremony moment photography tip has nothing to do with your camera. It happens weeks before the wedding.
Engagement sessions are trust currency. When couples have already spent two hours with you laughing, walking, and occasionally feeling awkward, they stop performing for the camera on the wedding day. That drop in self-consciousness is exactly what lets real tears happen. A couple who has never met you before the ceremony will smile stiffly and hold it together. A couple who trusts you will cry.
Beyond the engagement session, do this before every ceremony:
Call or email the officiant at least a week out. Ask where the vows fall, whether there are surprise readings, and if there is a moment when the couple faces guests. These are your peak tear windows.
Review the ceremony timeline with the couple and note any family rituals: a father-daughter prayer, a grandmother’s seat at the front, a sibling reading a poem.
Walk the venue 30 minutes before guests arrive. Find your telephoto position, your wide-angle aisle spot, and the parent seating row. Note where the light falls.
Brief your second shooter on family members to watch. Show them a photo of the mother of the bride if you have one.
Pro Tip: Two minutes before the processional, find the couple in the prep area and say something genuine and low-key — a compliment about the dress, a calm observation about the venue. It breaks the performance freeze. They walk down the aisle as themselves, not as performers.
How do you read the room and anticipate tearful cues?
Tears don’t arrive randomly. They cluster around specific ceremony beats, and once you know the pattern, you can be in position before the moment peaks.
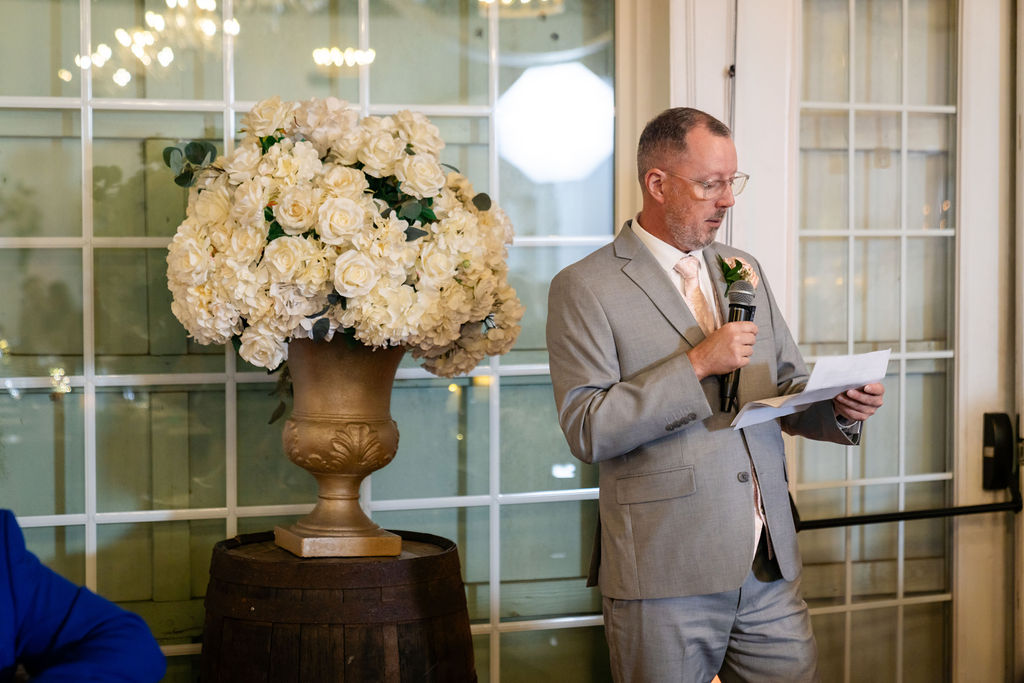
The most reliable triggers: the processional (especially when a parent walks alone), the moment the couple first sees each other at the altar, the opening lines of the vows, a surprise musical choice, and the recessional when relief and joy collide. Guest reactions during the processional often produce the most unguarded tears in the room, and photographers who scan the crowd rather than staying locked on the couple find unexpected images that clients treasure most.
Watch for these micro-cues in body language:
A pause mid-sentence during vows, especially with a downward glance
A hand raised to the face or pressed to the chest
A sharp inhale or a visible swallow
Eye contact broken and redirected toward a specific person in the crowd
A parent leaning toward a spouse or reaching for a hand
When you notice any of these, your finger should already be on the shutter. The tear itself usually follows within two to four seconds.
Pro Tip: Slow your own breathing before the vows start. Photographers who are physically tense anticipate poorly. Three slow breaths, shoulders down, eyes soft and scanning. You will notice more.
John Hollingsworth’s framework of “receiving” rather than taking a photograph captures this exactly. The mindset shift from hunting to witnessing keeps you present enough to catch the moment before it peaks.
Moment-by-moment positioning guide:
Processional: Side aisle, telephoto on parents and guests; wide shooter on the aisle center
Vows: Side position for couple’s faces; second shooter on guest reactions from the back
Ring exchange: Move slightly forward for a tighter frame on hands and faces
First kiss: Center aisle, wide and tight simultaneously if you have two bodies
Recessional: Back of the aisle for the couple coming toward you, second shooter on guests
What camera settings preserve tear detail in low-light ceremonies?
The core tradeoff is simple: wide aperture for shallow depth and light gathering, fast enough shutter to freeze a trembling lip, and ISO high enough to expose correctly without crushing shadow detail. Here is how that plays out across three common ceremony environments:
Scenario | Aperture | Shutter Speed | ISO | AF Mode | Metering | White Balance |
Dim indoor / banquet hall | f/2.8 | 1/160s | 3200–6400 | AF-C, face detect | Center-weighted | Auto WB or Tungsten |
Window-lit chapel | f/4 | 1/200s | 800–1600 | AF-C, face detect | Spot on face | Cloudy or shade |
Outdoor golden-hour | f/4–f/5.6 | 1/200s minimum | 1600–6400 | AF-C or single | Evaluative/matrix | Auto WB |
Practitioner guidance consistently places aperture in the f/4–f/5.6 range for depth control and shutter speed at 1/100–1/200s for stability, though for close-up tear detail at 85mm or longer, 1/200s is the safer floor.
A few additional settings decisions that matter:
Back-button AF: Separate focus from the shutter button so you can pre-focus on the couple’s face during the officiant’s remarks and hold that focus without accidentally refocusing on a moving guest
Drive mode: High-speed burst during vows and ring exchange; single or low-speed burst during quiet readings to avoid audible clicking
Buffer awareness: Know your camera’s burst depth. A 20-shot burst at 20 fps empties most buffers in one second. Fire in 3–5 shot bursts, pause, repeat.
Pro Tip: Dial in –1/3 to –2/3 exposure compensation in any scene where tears are likely. Tears are specular highlights. If you expose for the average scene, the tear highlight blows out and you lose the detail that makes the image powerful. Protect the highlight; lift shadows in post.
Which lenses and gear reliably capture tearful ceremony moments?
The 70–200mm f/2.8 is the workhorse of ceremony photography for one reason: it lets you stay far enough away that subjects genuinely forget you are there. Telephoto distance produces more authentic tears because proximity triggers self-awareness. A 24–70mm f/2.8 handles the aisle, the wide context shots, and any tight-quarters venue where a 200mm is impractical.
The 85mm f/1.4 is the specialist. At f/1.4 in a dim chapel, it gathers light no zoom can match, and the compression at that focal length makes a tear on a cheek look cinematic. The tradeoff is the razor-thin depth of field — at f/1.4 on a moving subject, your keeper rate drops unless your AF system is excellent.
Single-shooter kit:
Primary body: mirrorless with in-body stabilization and silent shutter (Sony A7 series, Canon R series, Nikon Z series)
70–200mm f/2.8 on the primary body
24–70mm f/2.8 or 35mm f/1.8 on a second body worn on a dual-camera strap
Two fully charged batteries per body, one spare in pocket
Two fast UHS-II cards per body, formatted and tested the night before
Silent/electronic shutter enabled for vows
Two or three-shooter team additions:
Second shooter: 85mm f/1.4 or 50mm f/1.8 for guest reactions from the back
Third shooter (if available): wide 24mm or 35mm for environmental context and recessional
Assign zones before the ceremony starts and confirm hand signals for position swaps
What compositional approaches make tears visible on camera?
Tears are small. A poorly framed shot makes them invisible. The framing decision you make in the half-second before you press the shutter determines whether the viewer sees the emotion or just a face.
The default rule: when a tear is present or imminent, move to a tight eye-and-shoulder crop or a mid-portrait frame. Save the wide shot for before and after. Three shot types that work consistently:
Over-the-shoulder groom reaction: Position behind the groom’s left shoulder, telephoto at eye level, focus on his face as the bride walks toward him. The blur of the bride’s dress in the foreground adds depth; his expression is the subject.
Parent profile with hand to face: A parent pressing fingers to their mouth or wiping a cheek reads immediately. Shoot from a slight angle so the hand and the eye are both in frame. A tight crop at the shoulder removes distracting backgrounds.
Bride eye detail: At 200mm from 20 feet, a tight frame from brow to chin isolates a single tear on the cheek. The catchlight in the eye and the tear highlight together create the image. Nothing else needs to be in the frame.
Foreground elements — a raised glass, a bouquet edge, a pew end — add depth and context without requiring you to move. Negative space above or beside the subject’s face gives the image room to breathe and draws the eye to the tear rather than competing with it.
Focal-length-to-distance mapping: at 200mm, a head-and-shoulders frame fills the sensor from roughly 15–20 feet. At 85mm, you need to be 8–12 feet away for the same crop. Knowing these distances means you can estimate your framing without trial-and-error during the ceremony.
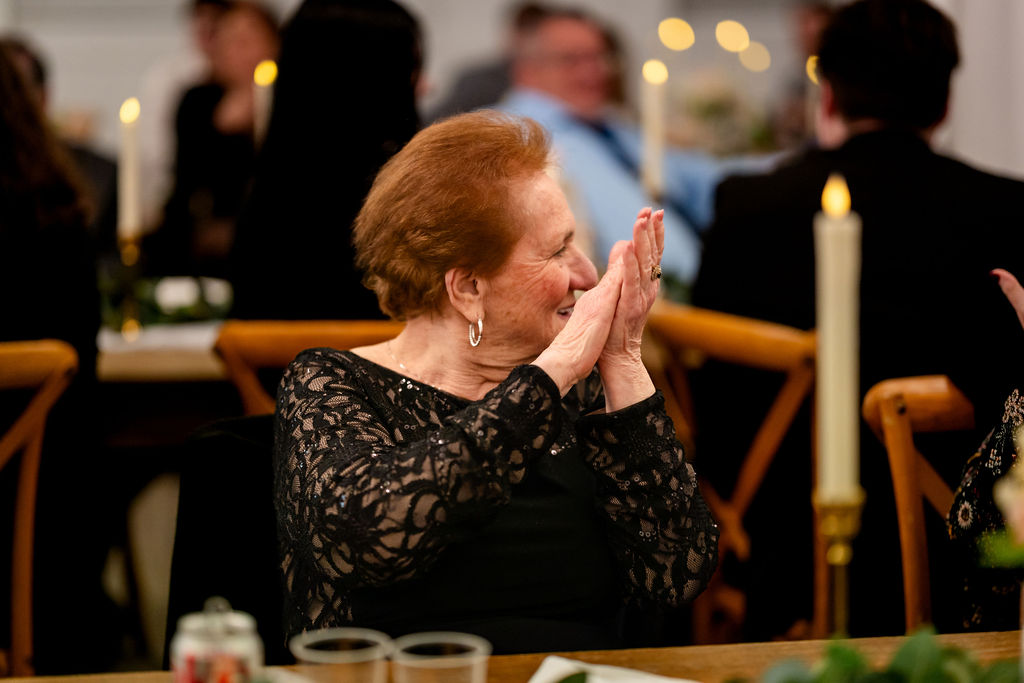
Pro Tip: Shoot artistic compositions that place the teary eye at the upper third intersection of the frame. The lower two-thirds carry the context — the altar, the guests, the light. That single compositional choice turns a close-up into a story.
How do you capture tears respectfully without intruding?
The default position is distance. Unless you have explicitly discussed it with the couple beforehand, never move into someone’s face during a private moment of grief or overwhelm. A 70–200mm from 20 feet is less intrusive than a 35mm from 4 feet, and it produces a more authentic image anyway.
Before the ceremony, use this phrasing in your client conversation: “During the ceremony, I’ll stay back and use a telephoto so you and your guests can be fully present. If there’s a moment where you’d want me closer, just let me know in advance.” That single sentence sets expectations and gives you implicit consent to be present without hovering.
Practical etiquette during the ceremony:
Wear dark, muted clothing. Movement draws attention; bright colors amplify it.
Enable silent shutter or use a mirrorless body during vows and quiet readings.
Move only during musical interludes, applause, or the recessional — never during silence.
If a guest is visibly distressed (not joyful tears but genuine grief), lower your camera. Some moments are not yours to take.
Telephotos should honor intimacy by keeping the shooter visually absent. The goal is not to document that you were there — it is to document that they were there, fully, without an audience.
Culturally sensitive rituals — a religious blessing, a traditional ceremony element, a moment of silence — require the same restraint. When in doubt, ask the couple or officiant in advance whether photography is welcome during that specific moment.
How do you meter and light a scene to preserve tear highlights?
Tears are specular highlights. They reflect whatever light source is in the room, and they blow out fast. The core metering rule: expose for the skin on the face, then protect the highlights. In most ceremony environments, that means spot or center-weighted metering on the subject’s cheek or forehead, not evaluative/matrix metering on the whole scene.
Scenario-specific lighting tactics:
Backlit aisle: The couple is silhouetted against a bright door or window. Expose for their faces, not the background. Expect to push ISO and open aperture. A subtle fill from a bounced off-camera flash (if permitted) can recover shadow detail on the face without washing out the tear highlight. If flash is prohibited, shoot in RAW and recover in post.
Window-lit chapel: Side window light is beautiful for tears — it creates a natural catchlight and rakes across the cheek to make a tear visible. Meter off the lit side of the face. Expose so the lit cheek sits at roughly +1 stop above middle gray.
Dim banquet hall: Push ISO before you slow your shutter below 1/160s. Motion blur on a crying face is unfixable; noise is manageable. Use golden-hour lighting principles when the ceremony moves outdoors near dusk.
Pro Tip: If you can position a small reflector or a white program card at cheek height near the aisle — held by an assistant or propped on a pew — it creates a catch-light in the eye and lifts the tear highlight without any flash. It takes 30 seconds to set up and is invisible in the final image.
How do you sequence shots so you never miss the decisive tear?
A standard ceremony runs 20–30 minutes, and the emotional peaks are compressed into a handful of 10–30 second windows. Miss the vows, and there is no second take.
The solution is choreographed zone coverage that works like a rotating relay. Pre-assign positions before the ceremony starts, and rotate only during low-stakes moments.
Zone assignments:
Lead shooter: center aisle and couple’s faces
Second shooter: left side, parent row, guest reactions
Third shooter (if present): right side and wide environmental frames
Shot sequence for a single shooter during vows (6–8 shots in under 10 seconds):
Wide establishing shot of the couple at the altar (24–70mm)
Switch to telephoto; frame the speaking partner’s face
Fire a 3–4 shot burst as they begin the vows
Reframe to the listening partner’s face; fire another burst
Pull back slightly for a two-shot that shows both faces
Swivel to the parent row; single shot of the most emotional guest
Return to couple for ring exchange close-up
For a two-shooter team, steps 1–5 belong to the lead and steps 6–7 to the second shooter simultaneously. The hand-off routine between zones should be silent: a nod, a pointed finger, or a pre-agreed signal. Never call out across the ceremony space.
How should you edit tearful ceremony photos without over-processing them?
The editing goal is to make the tear visible without making the image look retouched. Over-smoothed skin and blown highlights are the two most common mistakes.
Start with these targeted adjustments in Lightroom or Capture One:
Highlight recovery on the tear: Pull highlights down 20–40 points locally using a radial filter or brush on the cheek. The tear should have texture and shape, not be a white blob.
Dodge the eye socket: A subtle dodge (10–15% exposure lift) on the upper eyelid and brow bone adds depth and draws the eye to the tear without looking artificial.
Clarity on the eye: A small positive clarity adjustment (5–10 points) on the eye and tear area sharpens the catchlight and the tear edge. Apply locally, never globally — global clarity on skin looks harsh.
Preserve skin texture: Avoid luminance noise reduction above 30 on faces. Smooth skin erases the micro-detail that makes a crying face feel real.
Color grade: Keep skin tones warm and natural. A slight orange-to-yellow hue shift in the HSL panel corrects the blue cast that indoor tungsten light creates on skin.
For gallery sequencing, place tearful images in context: a wide shot of the ceremony moment, then the reaction close-up, then a detail (hands, rings, the tear itself). That three-image sequence tells the story without requiring a caption.
The best emotional wedding photos sit at the intersection of editorial intention and raw human reality. You can plan for emotion without staging it — and the editing should honor that same line.
Deliver the gallery with a note to the couple about why these tearful moments are among the most requested images from their wedding day. It reframes the images as intentional storytelling, not accidental documentation.
Your printable one-page pre-ceremony checklist
Print this or pull it up on your phone before every ceremony. Run through it 30 minutes before guests arrive.
Gear:
Both camera bodies charged and formatted cards inserted
70–200mm and 24–70mm (or 85mm) mounted and tested
Spare batteries in jacket pocket
Silent shutter enabled on both bodies
Backup body in bag, accessible within 30 seconds
Settings preset:
AF-C with face/eye detection active
High-speed burst mode ready
Exposure compensation at –1/3 to –2/3
ISO auto ceiling set (3200 indoors, 800 outdoors)
Logistics:
Officiant briefed on vow and ring exchange timing
Family members identified (mother of bride, father of groom, siblings)
Zone assignments confirmed with second shooter
Hand signals agreed upon for position swaps
Mental cues:
Three slow breaths before the processional
Eyes soft and scanning, not locked on the viewfinder
Receive the moment; don’t chase it
Final venue scan:
Light sources identified (windows, overhead, candles)
Aisle width and telephoto position confirmed
Exit path for silent repositioning mapped
The emotional wedding moments guide from Pixelgroves pairs well with this checklist for a deeper pre-wedding prep session.
Pixelgroves’ approach to photographing tearful ceremony moments
Pixelgroves combines documentary sensitivity with editorial composition to capture tears without staging them. That is not a marketing line — it is a workflow decision made before the ceremony starts, on every wedding.
The 2025 Best of Florida Wedding Photographer Award reflects a consistent approach: build trust during the engagement session, coordinate with the officiant, assign zones, and stay invisible with a telephoto until the moment arrives. The result is images that feel like they happened, not images that feel like they were taken.
The most powerful tearful ceremony photos are often shot from the back or sides with a 70–200mm so subjects remain completely unaware. Being too close causes subtle performance — even from people who think they are not performing.
One ceremony example: during a chapel wedding in Brevard County, the lead shooter held a telephoto position at the left side aisle while the second shooter covered the parent row from the back. The bride’s father, seated in the front row, pressed his hand to his mouth during the vows. The second shooter had pre-focused on his face during the processional. The resulting image — a profile, hand to lips, tears visible on his cheek — became the couple’s most-requested print.
Pro Tip: Before you leave the venue after the ceremony, do a quick mental debrief: which zone produced the most emotional images? Which moment did you almost miss? Adjust your pre-ceremony checklist for the next wedding. The playbook improves every time.
Key Takeaways
Capturing tearful ceremony moments reliably requires telephoto positioning, continuous AF, exposure compensation to protect tear highlights, and trust built long before the ceremony begins.
Point | Details |
Telephoto positioning | Shoot from 15–25 feet with a 70–200mm f/2.8 so subjects stay unaware and authentic. |
Exposure for tears | Set –1/3 to –2/3 exposure compensation; tears are specular highlights that blow out fast. |
Trust before the day | Engagement sessions lower couples’ defenses, making genuine tears far more likely on the wedding day. |
Zone choreography | Pre-assign center aisle, left, and right zones; rotate silently during low-stakes moments only. |
Pixelgroves workflow | Pixelgroves uses engagement sessions, multi-shooter zone coverage, and telephoto documentary technique to capture tearful moments across Florida weddings. |
Practice drills before your next ceremony
The playbook only works if the muscle memory is already there when the vows start.
Engagement session prompts: During your next engagement shoot, practice holding a telephoto frame on a moving face and firing a 3–4 shot burst at the moment of genuine laughter. That is the same reflex you need for tears.
Two-person zoning drill: With your second shooter, walk a ceremony venue and practice silent position swaps using only hand signals. Time how long it takes to rotate from center aisle to parent row without making noise.
Exposure prep run-through: In the venue 30 minutes before guests arrive, shoot a test frame of the altar at your planned settings. Check the histogram. Adjust ISO and exposure compensation before anyone sits down.
Mindset reset: Before the processional, put the camera down for 60 seconds and simply observe the room. Notice where the light falls, where the emotional family members are sitting, where the couple’s eyes go. Then pick the camera back up. That 60 seconds of pure observation sharpens everything that follows.
The photographer-first mindset is the one setting no menu can give you. Receive the moment. The romantic and real images that clients frame and hang on their walls are never the ones that were forced.
The moment you stop trying
The most useful thing I can tell you about capturing tears is this: the shot arrives when you stop hunting for it. Every time I have tried to manufacture an emotional moment, the image looks exactly like what it is. Every time I have stayed quiet, stayed back, and let the ceremony happen around me, something real appears in the frame.
At a recent ceremony, I had pre-focused on the groom’s face during the officiant’s opening remarks. I was not expecting anything. He glanced at his bride, then looked down at his hands, and a single tear dropped. I had three frames in the burst. One of them is the kind of image that makes a client cry when they see the gallery. None of it was planned beyond the positioning and the settings.
The tactics in this playbook create the conditions for that moment. The moment itself belongs to the couple.
Pixelgroves captures what you can’t plan for
[
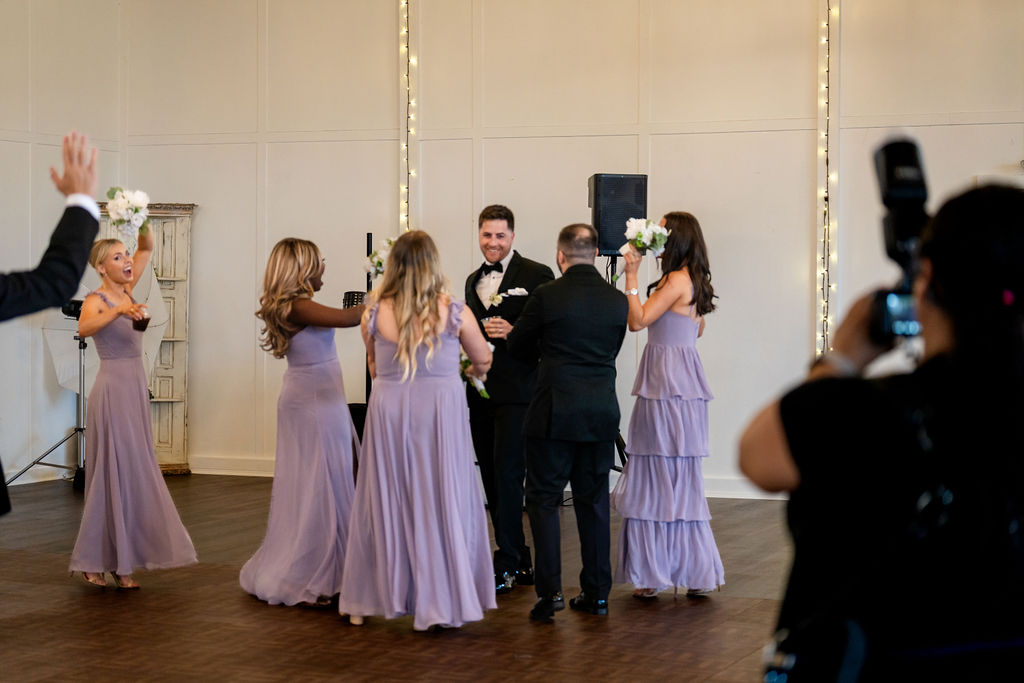
Pixelgroves offers engagement sessions and full-ceremony coverage designed specifically to capture the tearful, unscripted moments that define a wedding day. The studio’s Florida ceremony packages include multi-shooter zone coverage, backup gear on every job, and a documentary approach that keeps the camera invisible until the moment is already happening.
If you are a couple planning a Florida wedding and want a team that has built its entire workflow around authentic emotional storytelling, the wedding photography packages at Pixelgroves are worth a look. For photographers interested in the studio’s approach to ceremony coverage and pricing structures, the pricing and packages page outlines what full-day and multi-shooter options include. Reach out to check availability for your date.
Further reading and sources
The following sources informed the techniques, settings, and mindset guidance throughout this playbook:
Natalie Franke — Tips for Capturing Emotion in Wedding Photography: Engagement session trust-building, telephoto intimacy principles, and the ethics of unobtrusive shooting.
SLR Lounge — How to Master the Ceremony Wedding Photography Guide: Zone choreography, team rotation, and the 20–30 minute ceremony timing framework.
John Hollingsworth — You Don’t Take Photographs, You Receive: The photographer-first mindset and the shift from hunting to witnessing.
Waldo Photos — How to Capture Natural Expressions in Wedding Photography: Guest reaction scanning and the value of looking beyond the couple.
WeddingDressClub — How to Photograph Wedding Ceremonies: Practitioner aperture and shutter speed starting points for ceremony exposures.
ShootProof — Photographer’s Guide to Wedding Toasts and Speeches: Foreground framing, wide-to-tight sequencing, and gallery delivery advice.
The Wed — Editorial Wedding Photos That Still Feel Emotional: The intersection of editorial intention and raw human reality in ceremony photography.
Recommended

Comments